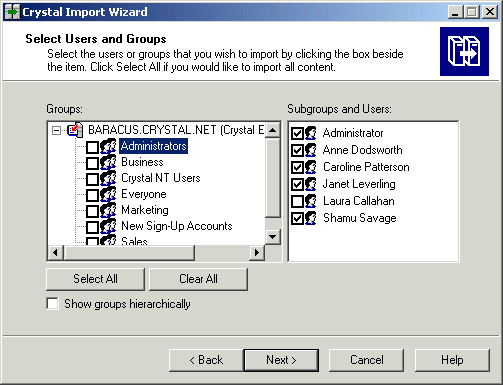
- Import users and user groups
- Import favorite folders for selected users
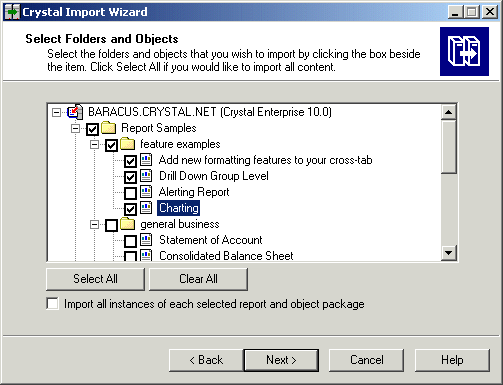
- Import folders and objects
- Import events
- Import server groups
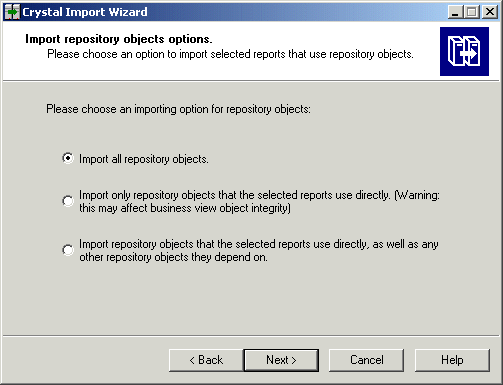
- Import repository objects
- Import calendars
Note: The options available depend on the version of the source environment. Events and server groups can be imported from Crystal Enterprise 8.5 or later. Repository objects and calendars can be imported from Crystal Enterprise 10.
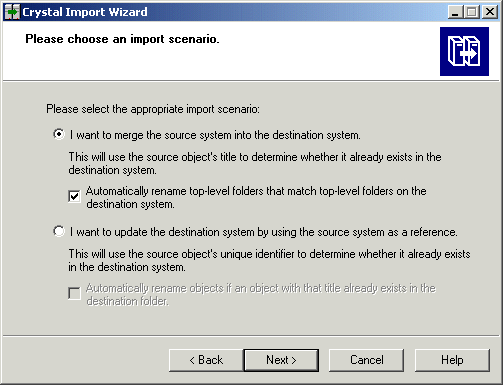
To merge the source and destination systems, choose "I want to merge the source system into the destination system." This option adds all objects from the source CMS into the destination CMS without overwriting objects in the destination.
Note: This is the safest import option. All of the objects in the destination system are preserved. Also, at a minimum, all objects from the source system with a unique title are copied to the destination system.
Updating the destination system
To add the source system's information to the destination system without merging, choose "I want to update the destination system by using the source system as a reference."
When you update the contents of the destination system using the source system as a reference, you add all objects in the source CMS to the destination CMS. If an object in the source system has the same unique identifier as an object in the destination, the object in the destination is overwritten.
For more information about merging and updating systems, see Copying data from a Crystal Enterprise 10 CMS.
This example imports all but one of the users in the Administrators group.
Tip: You can also choose to "Import all instances of each selected report and object package."
This example imports the Report Samples folder and a subset of its contents.
The Import Progress dialog box displays status information and creates an Import Summary while the Crystal Import Wizard completes its tasks.
Note: The information that appears in the Detail Log is also written to a text file called ImportWiz.log, which you will find in the directory from which the Crystal Import Wizard was run. By default, this directory is:
C:\Program Files\Crystal Decisions\Enterprise 10\win32_x86\
The log file included a system